

How to Winterize an RV in the Midwest: A Complete Step-by-Step Guide
Midwest winters are not forgiving to an unprepared RV. When overnight lows in Indiana, Iowa, and Illinois drop below freezing — which typically happens in earnest by late October — any standing water left in your plumbing system becomes a serious liability. Cracked pipes, damaged water pumps, blown water heaters, and split tank fittings are all entirely preventable with a proper winterization. They're also surprisingly expensive to fix when they're not.
This guide covers every step of a complete Midwest RV winterization — when to do it, how to do it, what to use, and what most owners miss the first time.
When to Winterize Your RV in the Midwest
Timing matters. Winterize too late and you risk a hard freeze catching water in your lines. Winterize too early and you cut camping season short unnecessarily.
The practical guidance for Indiana, Iowa, and Illinois: plan to have your RV fully winterized before overnight temperatures consistently drop below 32°F — typically by mid-to-late October in Iowa, late October in Indiana and Illinois. If an unexpected early cold snap is forecast and your rig is still in active use, it's worth at minimum draining your fresh tank and low-point drains as a precaution, even if full antifreeze treatment comes later.
If your unit is parked in an exposed location — no tree cover, no wind break, no insulated skirting — err on the side of winterizing earlier. Exposed rigs lose heat faster than sheltered ones, and even a brief hard freeze is enough to crack a fitting.
What You'll Need Before You Start
Gather everything before beginning. Stopping mid-process to make a hardware run wastes time and leaves your system partially drained and unprotected.
Non-toxic RV/marine propylene glycol antifreeze (plan for 2–4 gallons depending on RV size and floor plan complexity)
Water heater bypass kit (if not already installed)
Blow-out plug (city water inlet fitting for compressed air method)
Air compressor regulated to 30–40 PSI maximum — never exceed 50 PSI
Socket wrench for removing the water heater drain plug
RV water pump converter kit or siphon tube (antifreeze method)
Basic hand tools and flashlight
Roof sealant compatible with your roof type (inspect while you're up there)
Tire covers
Battery tender or trickle charger
Step 1: Turn Off the Water Heater — First, Every Time
This is the most important starting step and the most commonly skipped. Draining a hot water heater under pressure is dangerous. Turn off the water heater at least two hours before you plan to drain it — longer if it's been running recently. If your unit has an electric element as well as propane, confirm both are off.
Draining hot water under pressure can cause scalding burns and damage the drain fitting. There's no shortcut here worth taking.
Step 2: Remove All Inline Water Filters
Locate and remove every inline water filter in your system — typically found under the kitchen sink, in the wet bay, at the city water inlet, or in the convenience center. Leaving filters in place during antifreeze treatment ruins the filter media and is a waste of good filters. Remove them now, label them, and store them for spring or discard and plan to replace.
Step 3: Drain the Black and Gray Tanks Completely
Dump your black tank first, then your gray tank. The gray water flush cleans residual waste from your dump hose as it exits. Do this at a proper dump station — not on the ground.
Once emptied, use your tank flush system or a cleaning wand through the toilet to rinse the black tank until the water runs clear. Add 2–4 gallons of RV antifreeze directly to the black tank after flushing to protect the dump valve seals and any residual moisture. Repeat a lighter dose in the gray tank for the same reason.
Lubricate your termination valves — both black and gray — with a valve lubricant. Valves that sit fully closed all winter without lubrication can seize, and a stuck valve in the spring is a miserable problem to solve.
Step 4: Drain the Fresh Water Tank and Low-Point Drains
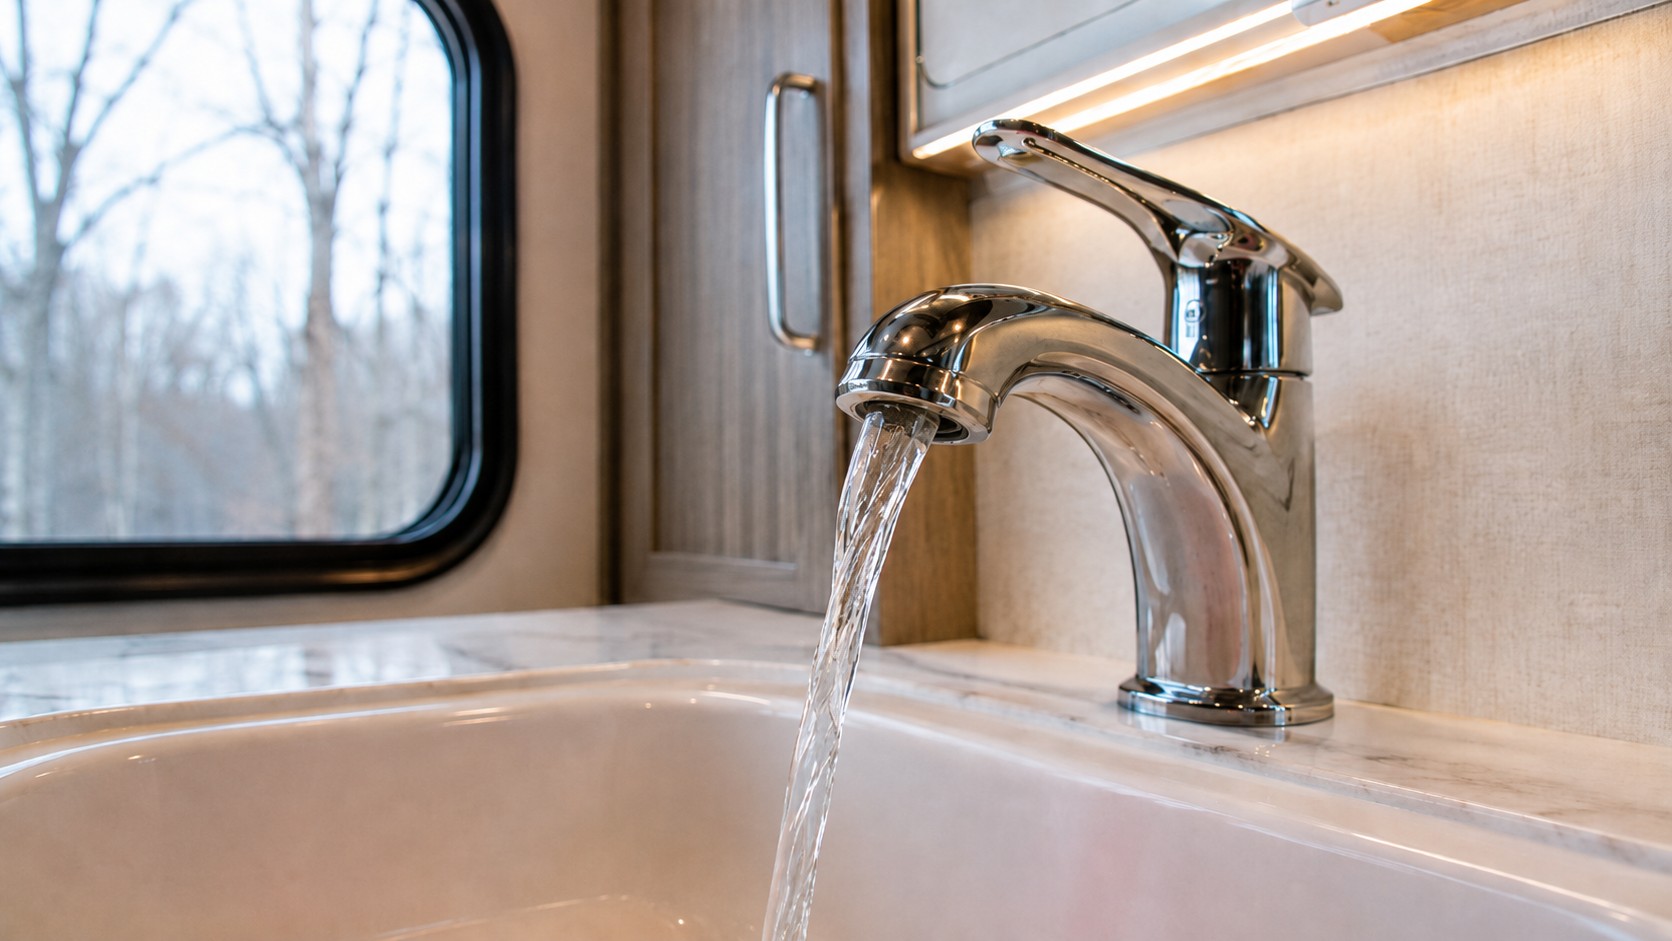
Open your fresh water tank drain and let it empty completely. Leave your faucets open to help with air flow and drainage. Locate your low-point drains — typically two valves (one hot, one cold) accessible from the exterior underbelly — and open both. These are the lowest points in your water system and the spots where gravity collects residual water that doesn't drain elsewhere. Leave them open until no water flows, then close them before antifreeze treatment.
Step 5: Drain the Water Heater
Once the water heater has fully cooled, remove the anode rod or drain plug using a socket wrench. Open the pressure relief valve before removing the plug — this prevents a vacuum that can slow draining. Let it drain fully. If the water coming out shows sediment or rust, flush the tank with a garden hose while the drain is open, then let it drain clear.
After draining, install a water heater bypass kit if one isn't already in place. The bypass reroutes antifreeze flow past the water heater — a 6-gallon tank that doesn't need antifreeze treatment and will consume your entire supply if not bypassed. This is a straightforward two-valve or three-valve configuration that most RV owners can install in under 20 minutes.
Step 6: Choose Your Antifreeze Method
Two methods work well for Midwest RVs. Many owners use a hybrid of both.
Antifreeze pump-through method is the most thorough. Connect a siphon hose to the RV water pump inlet and submerge the other end in a gallon jug of non-toxic RV antifreeze. Turn on the water pump. Working systematically from the farthest fixture back toward the pump, open each faucet — hot side first, then cold — until you see pink antifreeze running consistently from the tap. Close and move to the next. Cover every fixture: kitchen sink, bathroom sink, shower, outdoor shower, and outdoor kitchen if equipped.
Flush the toilet until pink antifreeze is clearly visible in the bowl and running through the flush valve. The toilet flush valve seal is a common failure point in freezing temperatures — make sure it's protected.
Pour 1–2 cups of antifreeze directly down each sink drain, the shower drain, and the toilet to fill and protect the P-traps. P-traps hold standing water by design — antifreeze in those traps is what keeps them from cracking over a 90-day deep freeze.
Compressed air blow-out method uses an air compressor to force residual water out of the lines before antifreeze treatment. Attach the blow-out plug to the city water inlet. Regulate your compressor to 30–40 PSI — this is critical, as higher pressure will damage fixtures, burst lines, and void warranties. Cycle through every fixture just as you would with the antifreeze method, working faucet to faucet until only air mist comes out. Follow the blow-out with a targeted antifreeze application to P-traps, pump internals, and drain seals.
Most experienced Midwest RVers use the blow-out first to clear the bulk of water, then a reduced quantity of antifreeze to protect traps and seals — cutting antifreeze consumption while ensuring complete protection.
Step 7: Protect the Exterior
The plumbing gets most of the attention, but Midwest winters attack the exterior just as aggressively. Work through these exterior steps before you close the storage door.
Roof inspection and sealing. Get on the roof — carefully — and do a thorough inspection of every seam, vent flange, skylight, and antenna mount. Midwest freeze-thaw cycles expand and contract sealant repeatedly over winter, and any crack you leave going in will be larger coming out. Apply a compatible RV roof sealant to any compromised areas. For rubber (EPDM) or TPO roofs, use self-leveling sealant on horizontal surfaces and non-sag sealant on vertical edges. Do not use standard silicone or house caulk — incompatible products cause delamination.
Window, door, and slide-out seals. Run your hand along every window frame, door frame, and slide-out seal. Any gap that lets air through in October lets water through in March when ice melts into those same channels. Reseal where needed.
Exterior wash and wax. A clean RV going into storage holds up better than a dirty one. Wash off road grime, bug residue, and tree sap before covering. Apply a protective wax or sealant to the exterior fiberglass to shield against UV and moisture damage during storage.
Tire care. Inflate tires to the manufacturer's recommended PSI before storage. Install tire covers on every tire — UV exposure over a long Midwest winter accelerates sidewall cracking and dry rot even in cold temperatures. If your storage situation allows, slide tire blocks under the axles to relieve constant load on the tires during extended stationary storage.
Step 8: Batteries, Propane, and the Interior
Batteries. Disconnect your house batteries and store them in a cool, dry location — never on a concrete floor, which draws charge. Connect a battery tender or trickle charger to maintain charge through the winter. A battery that fully discharges and sits dead through a hard freeze sustains permanent internal damage and will not hold a full charge in spring.
Propane. Turn off the main propane supply valve at the tank. Leave the tanks themselves in place — removing and indoor-storing propane tanks is a safety hazard. Inspect regulator connections and tank valves for any signs of rust or corrosion before closing up.
Interior. Remove all food — every can, every condiment, every cracker sleeve. Mice are a real and serious problem in Midwest RV storage, and food is the primary attractant. Seal potential entry points around plumbing penetrations and wire runs with foam backer rod or steel wool. Place deterrents — peppermint oil on cotton balls, ultrasonic repellers, or traps — in storage compartments and under slide-outs. Pull fabric window treatments and store bedding in sealed plastic bins to prevent moisture absorption and rodent nesting.
Close all window shades, blinds, and vent covers. Leave roof vents in the closed position — cracked vents invite precipitation, pests, and wind damage.
Step 9: Cover and Store Properly
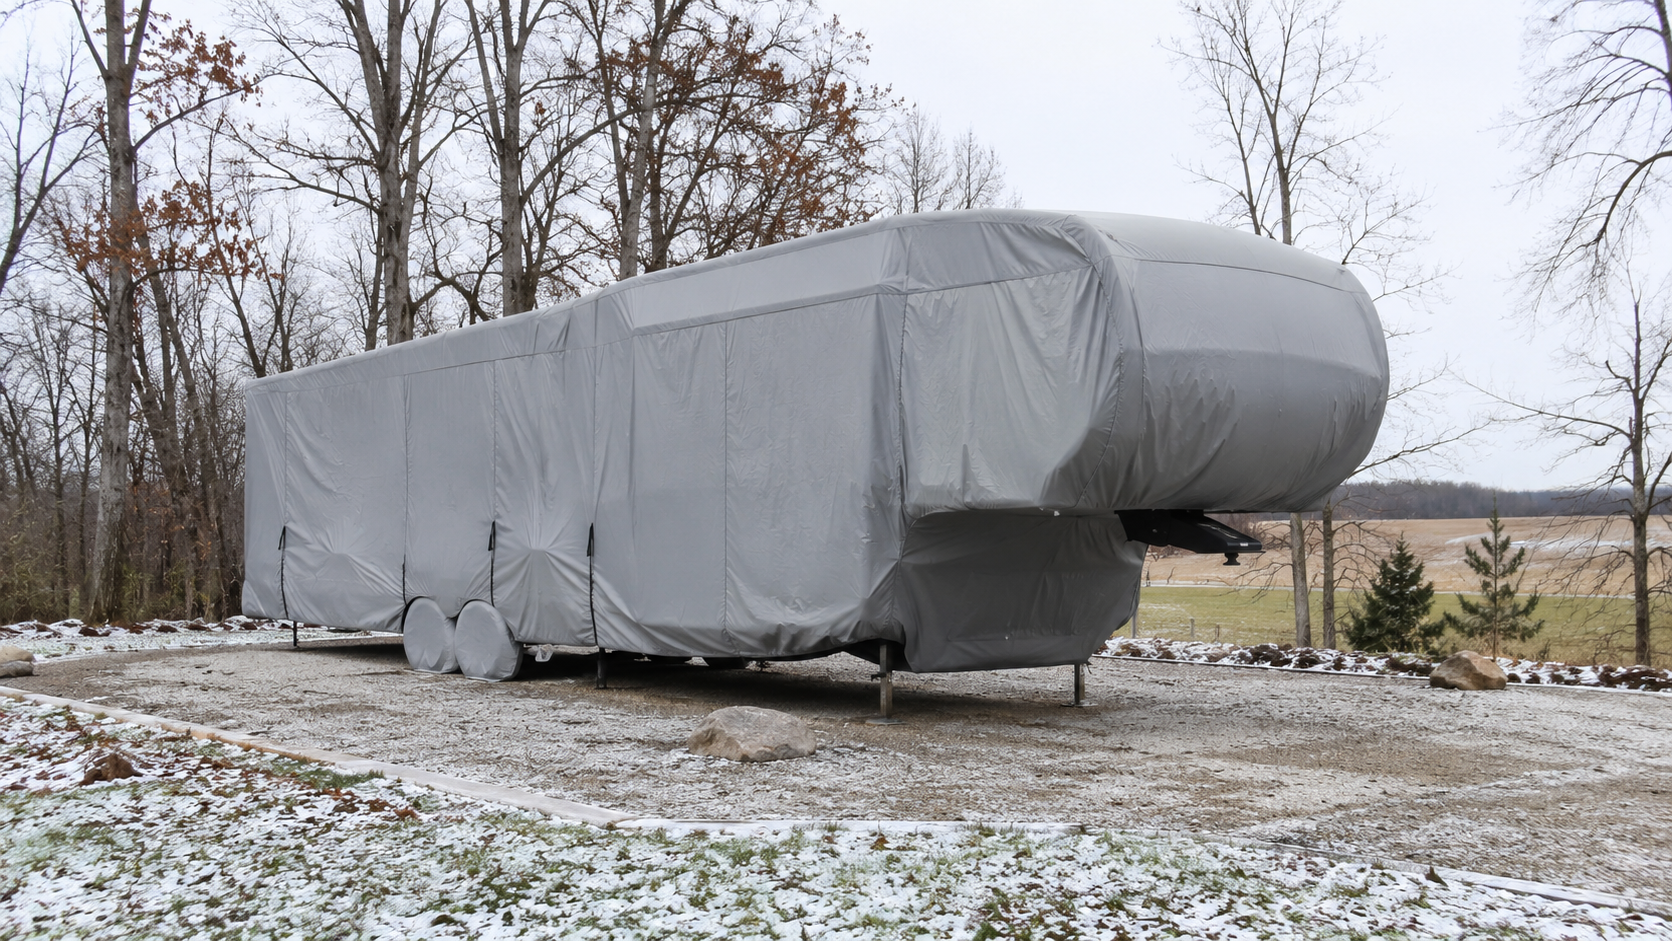
A properly fitted, breathable RV cover provides meaningful protection for units stored outdoors — shielding against UV, precipitation, falling debris, and road spray. Avoid plastic tarps, which trap condensation against the exterior and accelerate mildew growth, paint oxidation, and seal degradation.
If you're using a storage facility, covered or enclosed storage is significantly better than open-air lots in the Midwest. Even a simple fabric-roofed covered space shields against the freeze-thaw impact of direct precipitation better than a bare asphalt lot.
Check your rig once a month during storage — inspect for moisture intrusion, pest activity, tire pressure loss, and any signs of roof or seal compromise. Catching a small problem in December costs far less than discovering a large one in April.
Let Zoomers RV Handle It for You
Winterization is straightforward when you've done it a few times. The first time, or any time something doesn't look right, it's worth having a certified RV technician complete or inspect the process.
Zoomers RV's service departments — available at our Wabash, Indiana and Ina, Illinois locations — perform complete professional winterization services. Our certified technicians handle full antifreeze treatment, water heater bypass, tank flushing, seal inspection, battery service, and a pre-storage roof and exterior check. We'll make sure your unit goes into storage properly protected and comes out of storage ready to roll.
Contact our service department:
Wabash, Indiana: (855) 263-0458
Ina, Illinois: (618) 596-6414
Or book your service appointment online at zoomersrv.com.